
10 Budget‑Friendly Fourth of July Table Centerpieces to DIY
Alright, let’s talk fireworks, BBQ, and… table decorations? Yep, you heard me! If you’re anything like me, you want your Fourth of July spread to look as festive as it tastes, but who wants to drop a ton of cash on stuff you’ll use once a year? Not this gal! So, if your party planning includes visions of a patriotic tablescape that doesn’t raid your fireworks fund, you’ve come to the right place. I’m about to spill my secrets on 10 Budget-Friendly Fourth of July Table Centerpieces to DIY that will wow your guests without emptying your wallet. Trust me, I’ve made most of these myself, usually with a popsicle in one hand.
Why DIY Your Fourth of July Centerpieces? (Spoiler: It’s Awesome)
Seriously, why go DIY for your patriotic party décor? Well, besides the obvious – saving a boatload of cash – there are some pretty sweet perks.
First off, you get to inject your personality into your party. No more generic, store-bought blah. This is your shindig, and your table should scream you (in a good, festive way, of course).
Plus, let’s be honest, it can actually be fun! Pour yourself a lemonade (or something stronger, I don’t judge), put on some tunes, and get crafty. It’s a nice little escape. And hey, if you have kids, you could try to get them involved. Or, you know, you could also value your sanity and the pristine condition of your craft supplies. Your call! 😉
My Top 10 Budget‑Friendly Fourth of July Table Centerpieces to DIY
Okay, let’s get down to the good stuff. I’ve rounded up ten of my favorite, super achievable, and seriously budget-friendly Fourth of July table centerpiece ideas that anyone can tackle.
1. The Classic Mason Jar Magic
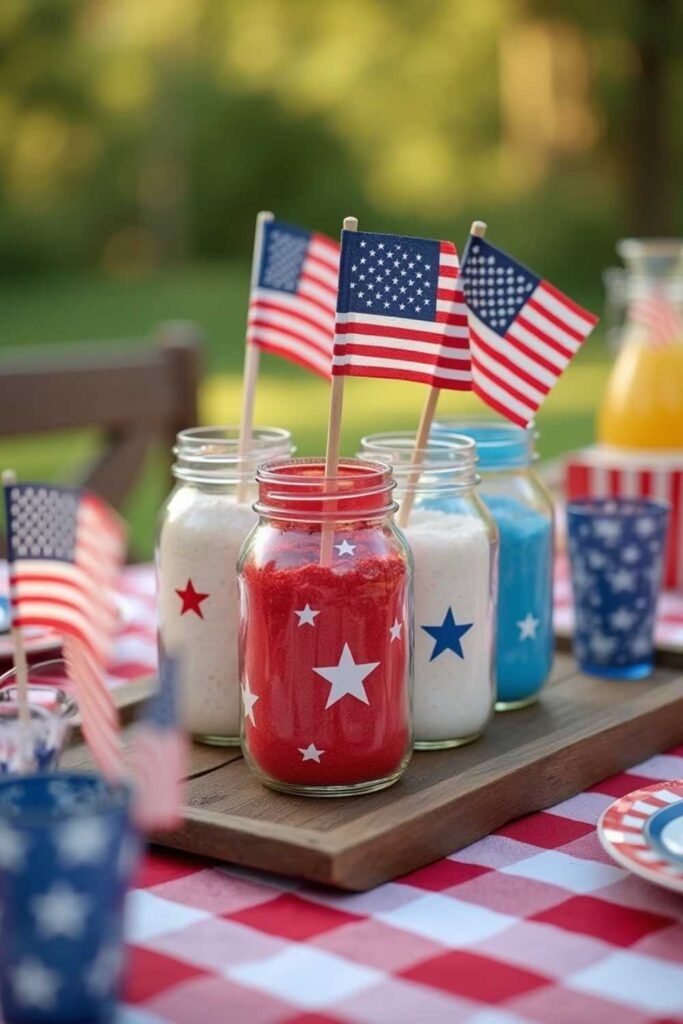
You knew mason jars had to be on this list, right? They’re the chameleon of DIY!
- What you need: Mason jars (any size), red, white, and blue acrylic paint or ribbon, sand/beans/rice for filler, small American flags or pinwheels.
- Super simple steps: Paint the jars in patriotic colors (stripes, stars, or solid blocks work great). Or, if painting isn’t your jam, tie some festive ribbon around them. Fill with your chosen filler and pop in a flag or pinwheel.
- Why I love it: Versatility is king! You probably have half this stuff already. I usually raid my pantry for rice or dried beans. Works like a charm.
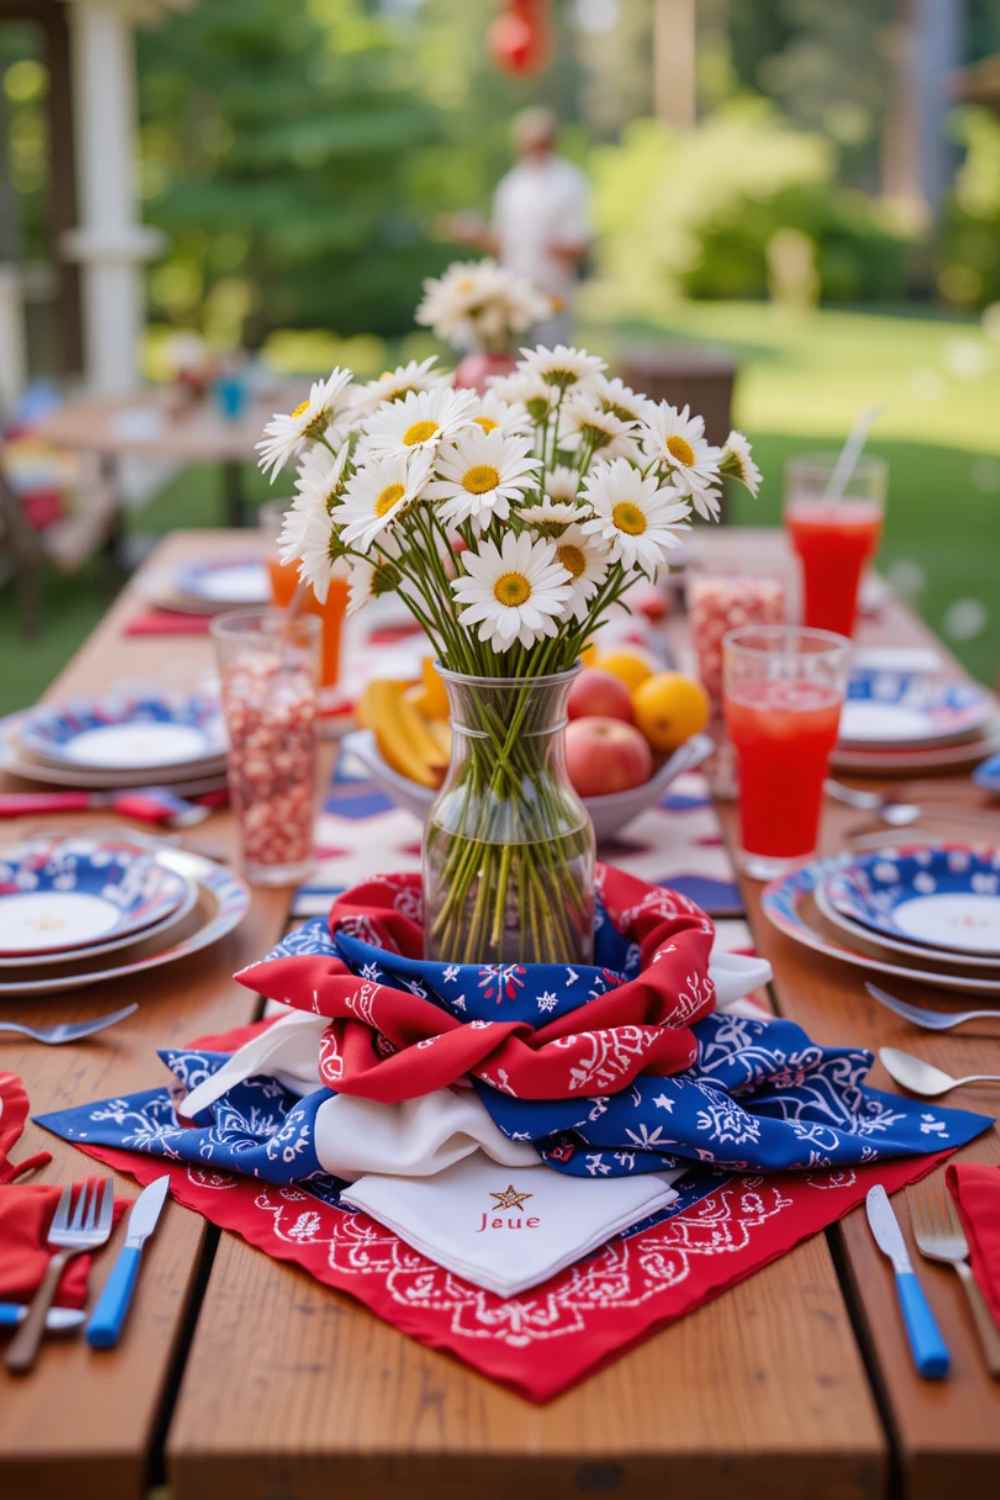
2. Bandana Bonanza Base

Who knew bandanas could be so chic? Well, maybe not chic chic, but definitely festive and fun.
- What you need: A few red, white, and blue bandanas (dollar store, baby!).
- Super simple steps: For a simple centerpiece base, you can artfully scrunch or fold a few bandanas in the center of your table. If you have simple glass vases, tie a bandana around each one for an instant patriotic pop.
- Why I love it: It’s ridiculously easy and cheap. Plus, bandanas are reusable for, like, a million other things. Practical and pretty – what’s not to love?
3. Firecracker Fun (Cardboard Tube Edition)
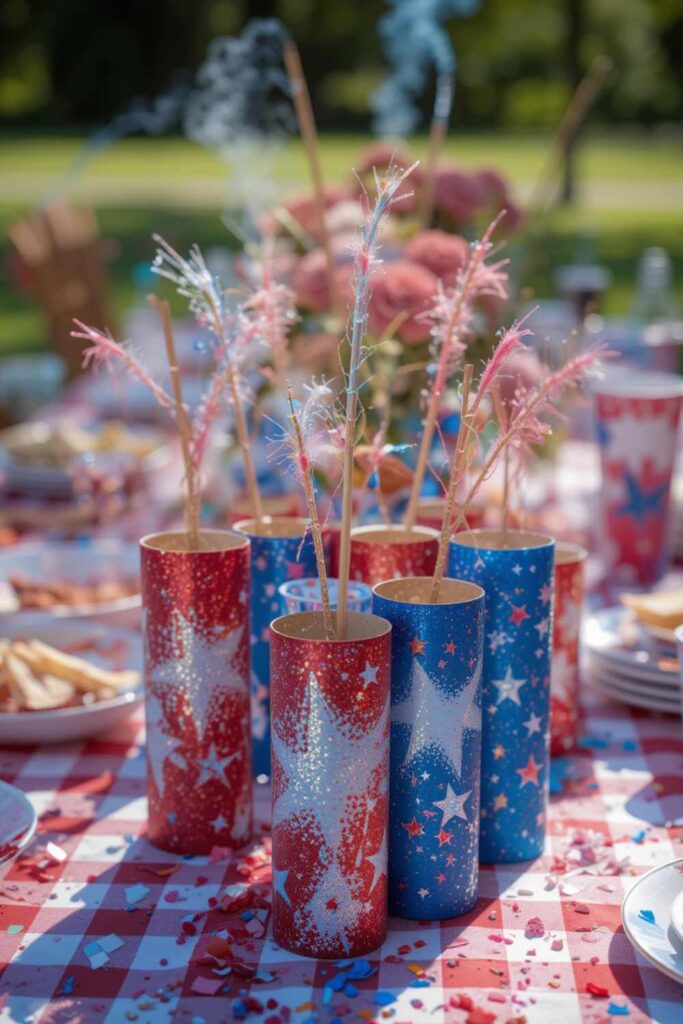
Time to get crafty with those TP tubes you’ve been hoarding (no judgment, we all do it).
- What you need: Toilet paper or paper towel tubes, red, white, and blue construction paper or paint, glitter (if you’re brave or love vacuuming), twine or pipe cleaners for “fuses.”
- Super simple steps: Cover or paint your tubes in patriotic colors. You can glue on some paper strips to make them look like firecrackers. Add a twine or pipe cleaner fuse sticking out the top. Group a few different heights together.
- Why I love it: Upcycling for the win! It’s basically free, and they look surprisingly cute. My kids actually enjoy making these, which is a rare crafting win.
4. Patriotic Planters
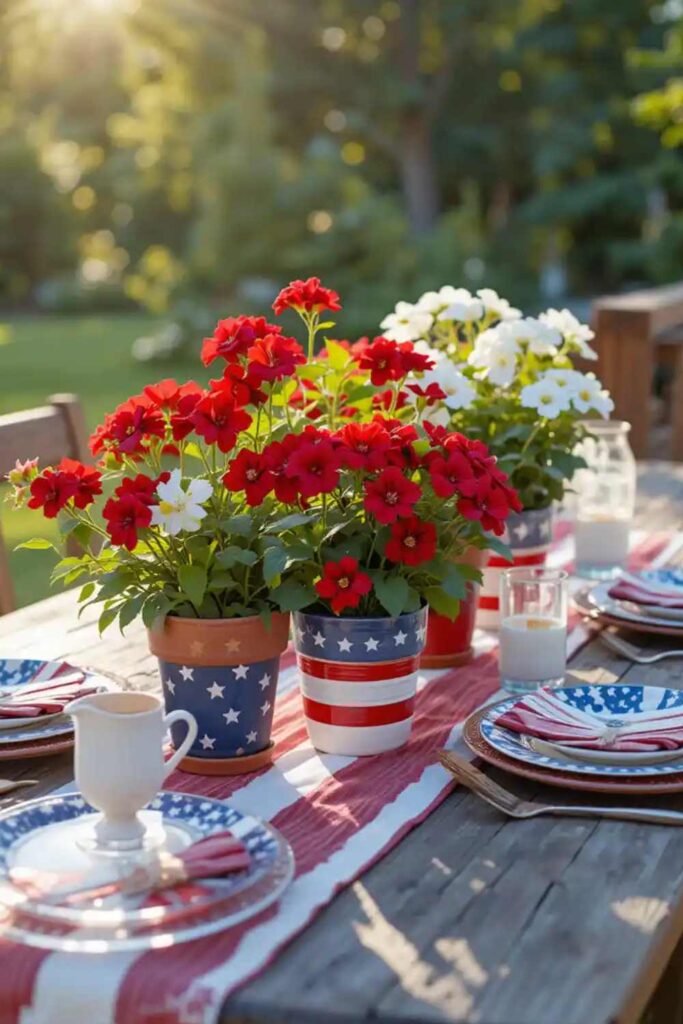
Got a green thumb? Or, like me, a talent for keeping fake plants alive? This one’s for you.
- What you need: Small terracotta pots (or any plain pots), red, white, and blue acrylic paint, and small, inexpensive flowers (real or faux). Think red geraniums, white petunias, or blue lobelia.
- Super simple steps: Paint your pots! Go for stripes, stars, or just solid colors. Once dry, pop your plants in.
- Why I love it: They add a fresh, lively touch. And IMO, even dollar store fake flowers can look pretty spiffy with a patriotic paint job on the pot.
5. Star-Spangled Votives
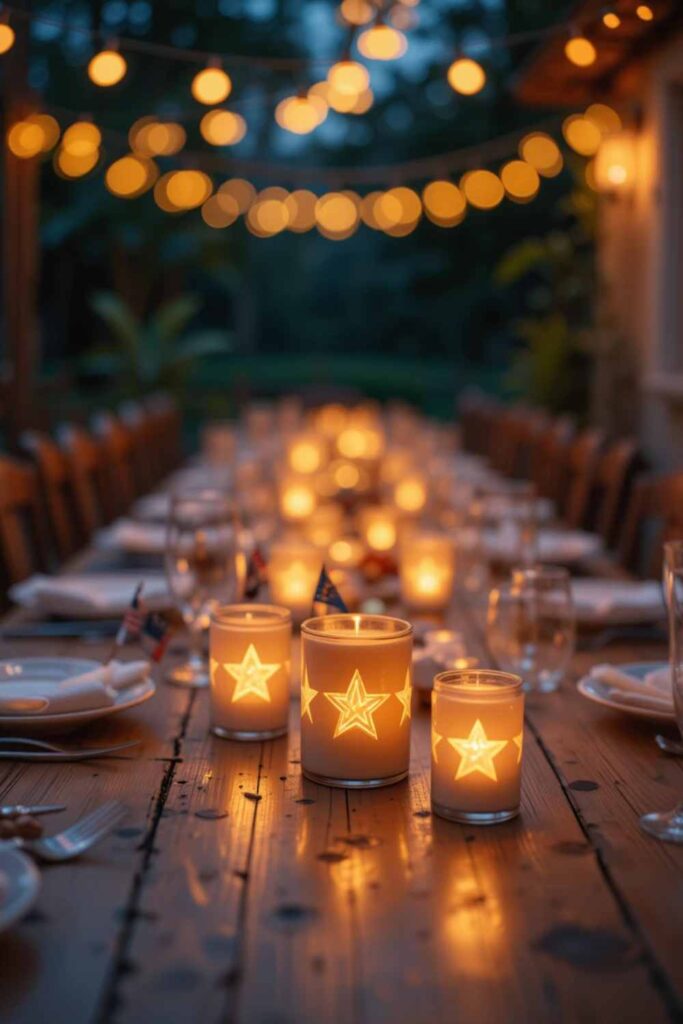
Let there be light! And let it be patriotic.
- What you need: Plain glass votive holders (again, dollar store for the win), star-shaped stickers or blue painter’s tape and white/red paint, tea lights (battery-operated are great for safety and reuse).
- Super simple steps: If using stickers, stick them on the outside of the votives. If painting, use painter’s tape to create star shapes (tape off the star, paint around it, then peel). Pop in your tea lights.
- Why I love it: These create amazing ambiance as the sun goes down. They’re subtle but super effective.
6. Berrylicious Beauty Bowl
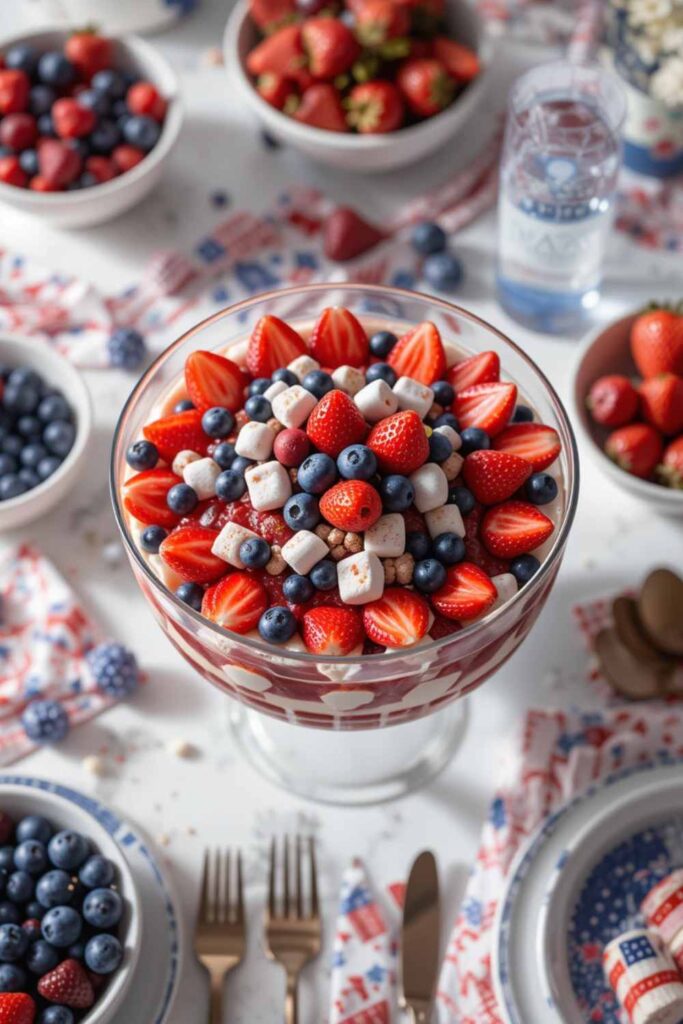
Want a centerpiece you can eat? Say no more.
- What you need: A clear glass bowl or trifle dish, fresh strawberries, blueberries, and maybe some white chocolate pretzels or mini marshmallows.
- Super simple steps: Layer those berries (and other white goodies) in your clear bowl. That’s literally it.
- Why I love it: It’s edible art! It looks gorgeous, and it’s a healthy-ish treat. Just try to stop your guests from picking at it before dinner. Good luck with that one!
7. Rustic Flag Display
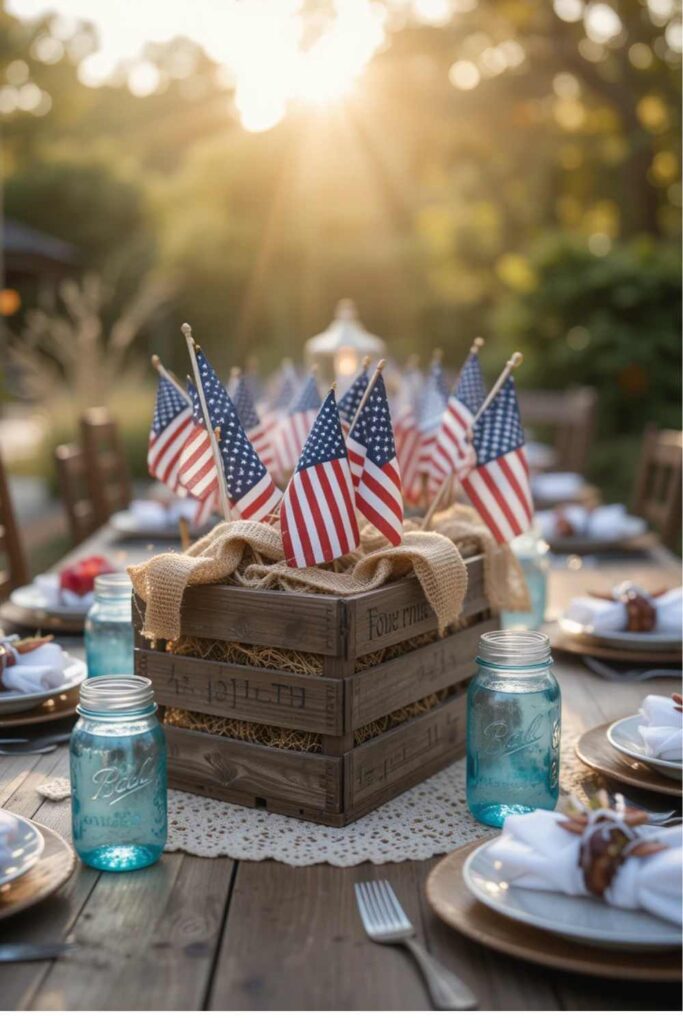
Sometimes, simple is best, especially with a rustic vibe.
- What you need: A small wooden crate or box (check thrift stores or craft stores), a handful of small American flags on sticks, maybe a bit of burlap or twine.
- Super simple steps: Arrange the flags sticking out of the crate. You can line the crate with burlap first if you want an extra rustic touch.
- Why I love it: Effortlessly charming. I found a tiny wooden crate at a thrift store for $2, and it’s become a staple in my Fourth of July decor.
8. Paper Lantern Parade
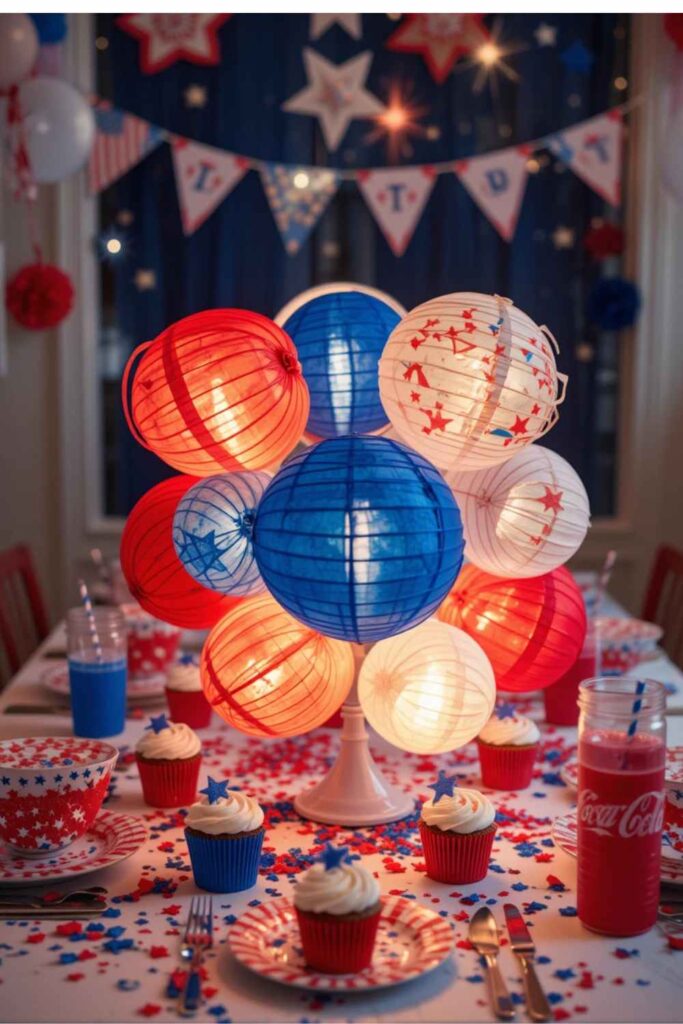
Paper lanterns aren’t just for hanging high – they can make a cool table statement too.
- What you need: Small red, white, and blue paper lanterns (look for battery-operated LED versions if you want them to glow), string.
- Super simple steps: Cluster a few lanterns of different sizes and colors in the center of your table. You can even string a few mini ones together like a tiny garland.
- Why I love it: They add a playful, festive feel. If you get the LED ones, they also add a soft glow. So cute!
9. Gumball Glory Jars
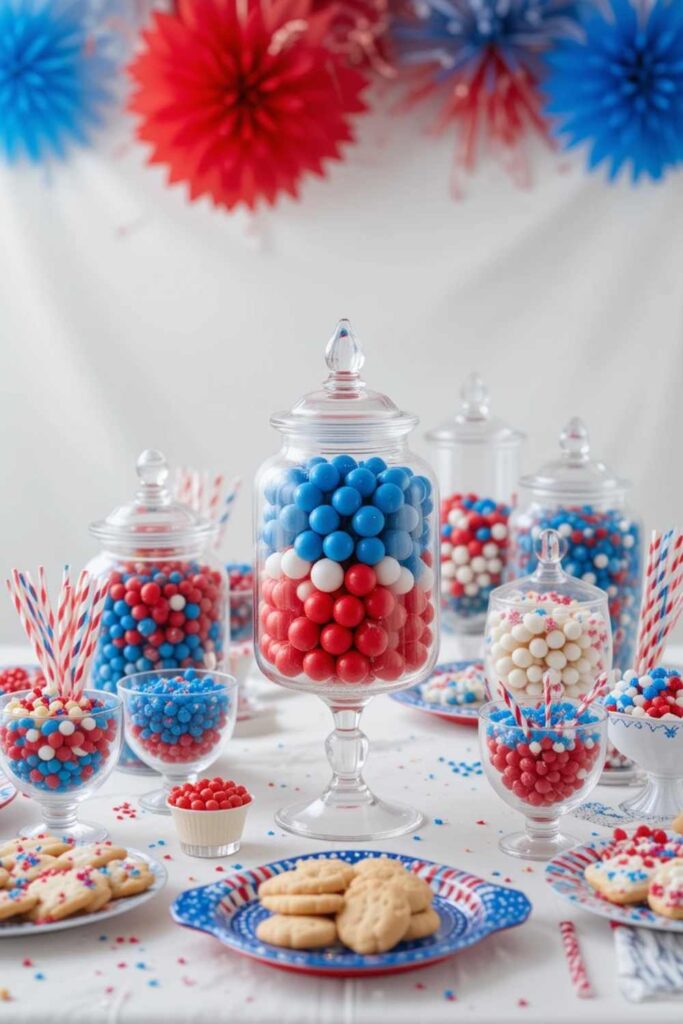
Sweet, simple, and oh-so-patriotic.
- What you need: Clear glass jars or vases of varying heights, bags of red, white, and blue gumballs (or M&Ms, Skittles, jelly beans – whatever your sweet tooth desires).
- Super simple steps: Layer the colored candies in the jars. You can do solid layers or mix them up.
- Why I love it: It’s colorful, fun, and doubles as a treat station. This is also a great way to keep kids (and some adults) occupied. Just don’t blame me for the sugar rush.
10. Tin Can Luminaries
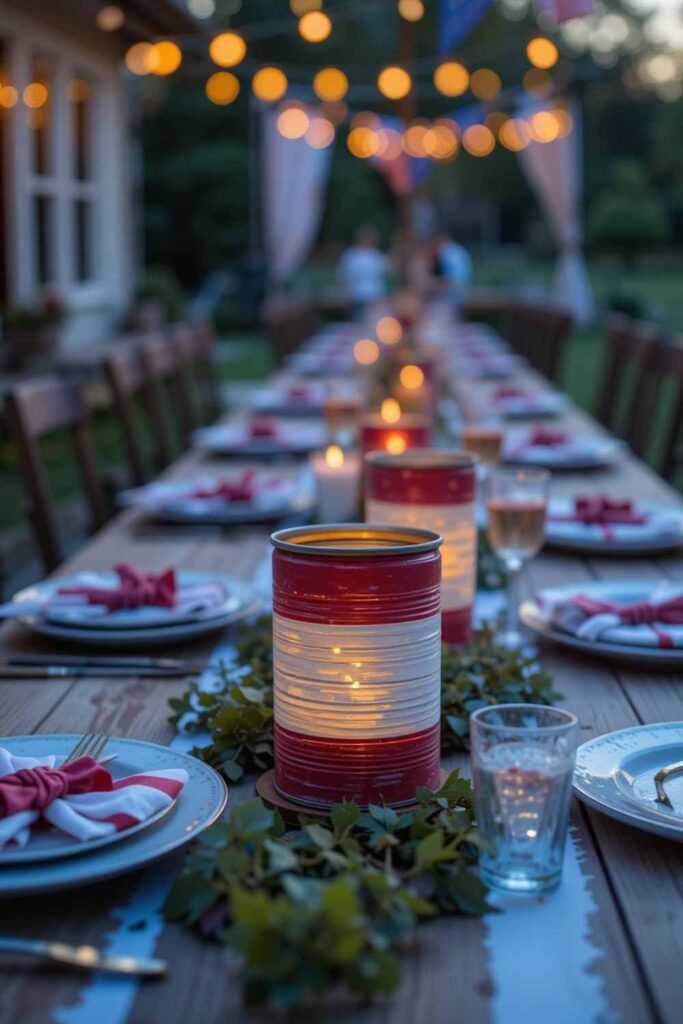
Another upcycling hero! These take a tiny bit more effort but the payoff is huge.
- What you need: Clean tin cans (various sizes), a hammer and a large nail (or a drill), spray paint (red, white, blue), and tea lights or small battery-operated candles.
- Super simple steps: Fill the cans with water and freeze them solid (this helps them keep their shape when you punch holes). Once frozen, use the hammer and nail to punch patterns (stars, stripes, dots) into the sides of the cans. Let the ice melt, dry the cans thoroughly, then spray paint them. Pop a candle inside.
- Why I love it: They look incredible when lit up at night. The light flickers through the punched holes, creating a beautiful, starry effect. A bit of work, but so, so worth it.
Pro Tips for Nailing Your DIY Centerpieces
Before you dive into your craft stash, here are a few extra tips I’ve picked up along the way:
- Shop your house first! Seriously, you’d be amazed at what you can repurpose. Old jars, scraps of fabric, leftover paint – it all has potential.
- The dollar store is your best friend. I can’t stress this enough. For things like basic vases, candles, ribbon, and craft supplies, it’s a goldmine.
- Don’t aim for perfection. Remember, these are DIY! A little bit of “homemade charm” (aka minor imperfections) is part of the appeal. It shows you actually made it!
- Consider the height. You want your guests to be able to see each other across the table, right? Unless your awkward Uncle Barry is coming, then maybe go tall on his side. Kidding! (Mostly.) Keep centerpieces relatively low or very slender.
Go Forth and Craft!
So there you have it – 10 budget-friendly Fourth of July table centerpieces you can totally DIY without needing a craft degree or a second mortgage. See? Creating a festive and fabulous table for your Independence Day bash is absolutely doable, and dare I say, even enjoyable.
Your table (and your bank account) will thank you. Now, the only question is, which one will you try first? I’d love to hear how your patriotic crafting adventures go! Happy Fourth!
Related articles
15 Classic Patriotic Decoration Ideas for Your Fourth of July Bash